Raytracing
This was one of the project that I enjoyed more and could put more effort. Due to having more time to understand the whole process!
While creating the raytracer I did some more work to improve performance and making the code clean, I added many classes like objects for geometry, different light classes and the material manager.
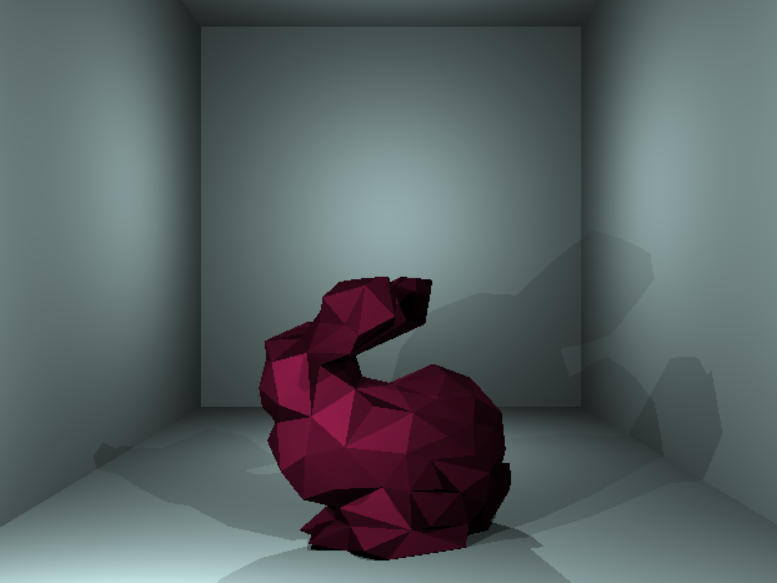
From the camera-position, a ray is shot towards a pixel, after which the ray sees which objects it hits, and picks the closest object. With the pixel and the closest object known, it will now look which light is touching that object and where the shadow should be on the object in question. The program then uses this information, along with the material type, to make sure the pixel gets the right color.
So first the program loops through each pixel, then each object, on that closest object it loops through each ray of light, per ray of light it calculates the required shadow. This is not good for performance, so the program loops through each object again to see if there is any object in between the light point and closest object. After all of this, we have all the information we need.
During this process, we have also calculated the type of object you’re dealing with, like sphere, plane or triangle. Since we know how to calculate a triangle, we also took it a step further so that we could render a mesh that is made from triangles. The triangle mesh is optimized with a bounding box.